How to Record a Laptop Screen with Available Built-in Features
Nowadays, recording laptop screen activity is becoming increasingly important, both for professional and personal purposes. Whether you are an educator who wants to make video tutorials, a professional who needs to make presentations, or even a gamer who want to share gaming moments, recording your laptop screen is a very useful skill.
This process, which may seem complicated at first, is actually very easy and can be done with a few simple steps using the tools available in your operating system. Here are several ways to record your laptop screen that you can try.
Tombol Windows + Alt + R

Here is an alternative way to record the screen on a laptop using a combination of keyboard keys. The steps are as follows:
- First, press the button Windows on your laptop keyboard.
- Then, while holding the button Windowsalso press the button Alt and letters R simultaneously.
- After that, the screen recording feature will activate and start recording what happens on your laptop screen.
- To stop recording, simply click the ' buttonStop Record' and your screen recording will be automatically saved.
Windows key + G
For Windows 10 users, screen recording is now easier without the need to install additional applications. This is thanks to a built-in Windows 10 feature called Xbox Game Bar.
The screen recording process using the Xbox Game Bar is quite practical and fast. You just need to do a few simple steps, and your screen recording is ready to be saved.
To start the screen recording process using Xbox Game Bar, follow these steps:
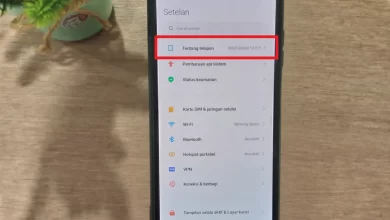
- Open menu “Windows“.
- Navigate to menu “Gaming” then select the option.
- Enter the menu “Game Bar” and activate the feature.
Once Game Bar is enabled, you can start screen recording with these steps:
- Press the button “Windows” and “G” simultaneously.
- Select option “Capture” or the webcam icon. A new page will appear.
- To start recording, click the “Record” or a large colon icon.
- When finished recording, press the “Stop” or the green box icon.
- Your recording will be automatically saved on the laptop. To review the recording, open the folder “Video“then click”Captures“.
Chrome Extension
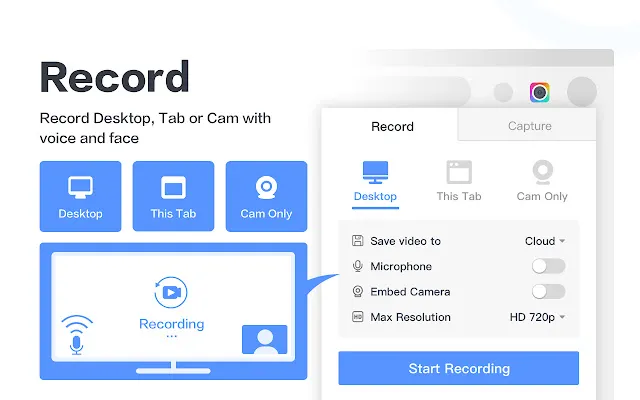
The method described below is highly recommended for recording your laptop screen, especially for Chrome browser users. We will use the “Awesome Screenshot and Screen Recorder” extension. Follow these simple steps:
- Open a browser Chrome and navigate to Chrome Web Store.
- In the search field, enter the keyword “Screen recorder” or “Screen Recorder“.
- Select option “Add to Chrome” to add the extension.
- In the top right corner of the Chrome browser, find and click on “Extension“.
- Activate the feature Pin on the desired extension.
- Click the extension icon to start the laptop screen recording preparation process.
- Open extension “Screen recorder” or “Screen Recorder” which is already installed.
- Select option “Recorder“.
- To start recording, click “Start Recording“.
- Once finished, click “Stop Recording“.
- Your recording will be saved automatically.
After the recording process is complete, make sure to check your recording file carefully so you don't need to re-record.
Snipping Tool
The Snipping Tool in Windows 11 makes it easy for users to record the screen, but this application still has limitations because it does not support sound recording and the Spot Light feature.
However, you don't need to worry, because you can still process recorded videos using external applications, such as Microsoft's ClipChamp. Please remember, the file format that can be produced by this Snipping Tool is only MP4.
Here is a guide to using the Snipping Tool to record the screen in Windows 11:
- Click the menu “Start” on your laptop or PC, then type “Snipping Tool” in the search bar. Select the application.
- To get started, press the video camera icon – make sure you've activated it first.
- Press the button “New” or use a shortcut CTRL+N.
- Draw a city in the section you want to record.
- Press the button “Start Recording” to start.
- Use the “ buttonStop” to end or “Pause” to delay recording.
- Save your screen recording as an MP4 file by clicking “Save” or pressing CTRL + S.
Make sure you check the screen recording on your laptop to minimize repeated use of the screen recorder.
Recording a laptop screen can be done easily using the operating system's built-in features or via a screen recording application. Although the built-in features of a laptop are quite capable of recording activity on the screen, using an external screen recording application can give you more options and flexibility.
So, whether you want to record laptop screen activity with or using an application, everything is equally easy and can be the best option. If you are still confused about how to take a screenshot aka screenshot on a laptop, please read the guide here.